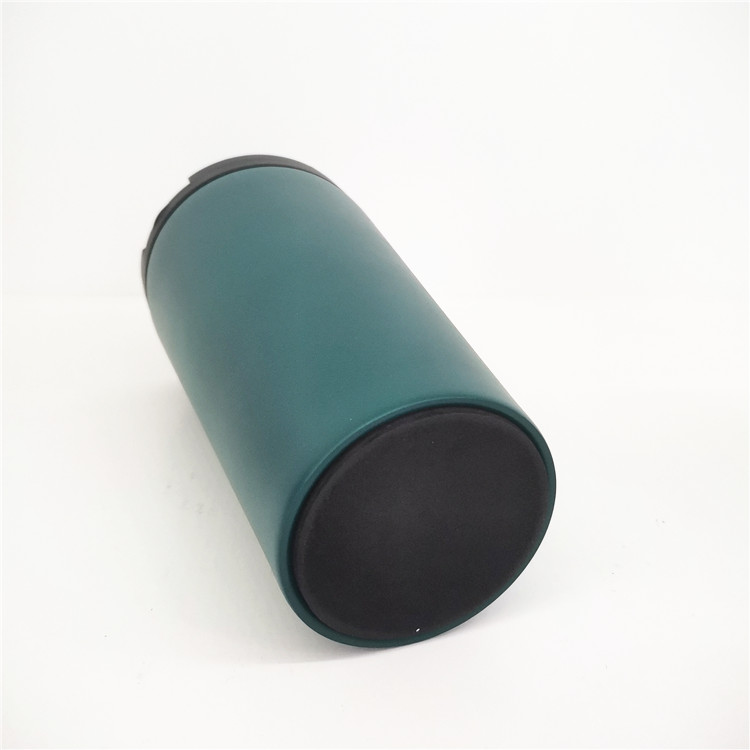
For the coffee lover who is always on the go, a trusty travel mug is a must. However, filling travel mugs with Keurig coffee can be tricky, resulting in coffee spills and wastage. In this blog, we’ll show you how to perfectly fill your travel mug with Keurig coffee, ensuring you have your favorite cup of coffee ready for your next adventure.
Step 1: Choose the right travel mug
The first step in filling your travel mug with Keurig coffee is choosing the right travel mug. Look for mugs that are compatible with your Keurig machine and have airtight lids to prevent leaks. Also, choose a mug with thermal properties to keep your coffee hot for a longer period of time.
Step 2: Prepare Your Keurig Machine
Before filling your travel mug, make sure your Keurig coffee maker is clean and ready to brew a fresh cup of coffee. Run a hot water cycle through the machine without a container to ensure there are no lingering flavors from previous brewing.
Step 3: Choose the perfect K cup
There are a variety of K-cup options available, and it’s important to choose the one that suits your taste preferences. Whether you like your coffee strong and strong, or light and mild, Keurig offers a variety of flavors to suit every taste.
Step 4: Adjust Brew Strength
Most Keurig machines allow you to adjust the brew strength to your liking. If you prefer a stronger coffee, adjust your Keurig coffee maker’s brew strength accordingly. This step ensures your travel mug is filled with great-tasting coffee that suits your taste buds.
Step 5: Properly Position the Travel Mug
To avoid spills and spills, make sure your travel mug is properly seated on your Keurig machine’s drip tray. Some travel mugs may be taller, so you may need to remove the drip tray to accommodate their size. Make sure the cup is centered and stable before starting the brewing process.
Step Six: Brew the Coffee
Next, insert the K-Cup into the Keurig machine and secure the cap. Choose the cup size you need according to the capacity of your travel mug. The machine will begin brewing your precise measure of coffee directly into the cup.
Step 7: Carefully remove the travel mug
After the brewing process is complete, it is crucial to carefully remove the travel mug. The coffee may still be hot, so use oven mitts or a pot holder to safely remove the cup from the machine. Avoid tipping the cup excessively to prevent spillage.
Step 8: Close the lid and enjoy!
Finally, close the cap tightly to prevent leaks during shipping. Before starting your journey, take a moment to savor the rich aroma of freshly brewed coffee. Now you can enjoy your favorite Keurig coffee anytime, anywhere without worrying about spilling or wasting coffee.
in conclusion:
Filling your travel mug with Keurig coffee doesn’t have to be a hassle. By following these simple steps, you can ensure the perfect brew every time, allowing you to enjoy your favorite coffee on the go. So grab your travel mug, fire up your Keurig machine, and get ready to start your next adventure with a steaming mug in hand!
Post time: Jul-19-2023
